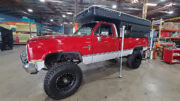
While completing the first project on #BigRedK10 of maintenance and restoring the rear Dana 60 axle, I started taking a closer look at the chassis and undercarriage of the truck, which appeared to be all in good shape structurally. Still about 10 months away until a Project M Camper, built by Four Wheel Campers was to be installed on this vintage 1983 Chevy K10 4×4 by Four Wheel Campers at their factory. I figured I might as well address the truck bed in preparation. It ended up being a 1 month journey to restore the bed and ultimately refinish it with Rustoleum Truck Bed Coating
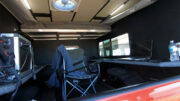
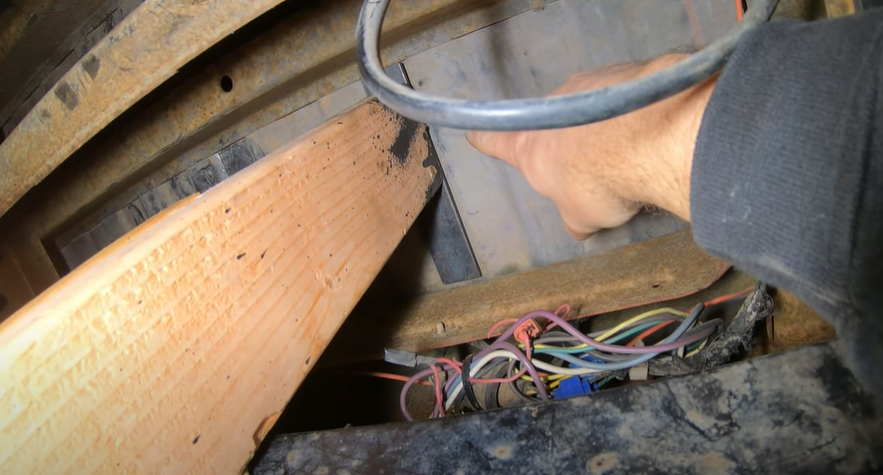
Since the Project M sits on the truck bed rails as a camper topper, vs. a slide-in model, you have access to the full truck bed. When purchasing this K10, it came with a truck bed liner which needed to be removed for the camper install. Holding my breath, I pulled the bed liner to reveal numerous golf ball sized dents in the original steel bed, along with a bit of collapsing of the bed floor steel near the tailgate between the truck bed frames that run perpendicular underneath. There were a couple holes in the bed rail post hole pockets, where something had been bolted, then ripped out. There were also a handful of dents on the wheel wells that needed to be tapped out.
The damage to the truck bed itself wasn’t beyond repair, but a lot of work was needed to make a quality restoration come to fruition, especially not using body filler. I had been around some autobody work as a kid, but only to assist my dad. He passed away some time ago, so it was a great chance to push the boundaries of what I could accomplish, and see how far I could take the skills he left me with.
To Take the Truck Bed Off Or Not?
The first thing I had to figure out was whether or not to take the truck bed off. Normally, it’s a no-brainer to take the bed off for access. However, with the 6” lift, I decided to pull the original spare underneath and found with some creativity I could access most of the underside of the bed.
The Tools I Used and Created for Truck Bed Restoration
In my set of tools, I had an old set of auto body dollies and hammers. I also ended up using a couple different sized ball peen hammers, a carpenter’s hammer, and even a 3 lb sledge hammer. I also used various steel punches that I hit with the bigger hammers.
Spending a bit of time knocking on a couple dents underneath with a few different hammers, it didn’t take long to realize that I’d have to come up with some innovative ways to restore the bed of the truck, as the dents barely moved being 18 gauge steel, let alone fixing the collapsed portions of the floor.
Modified Scissor Jack
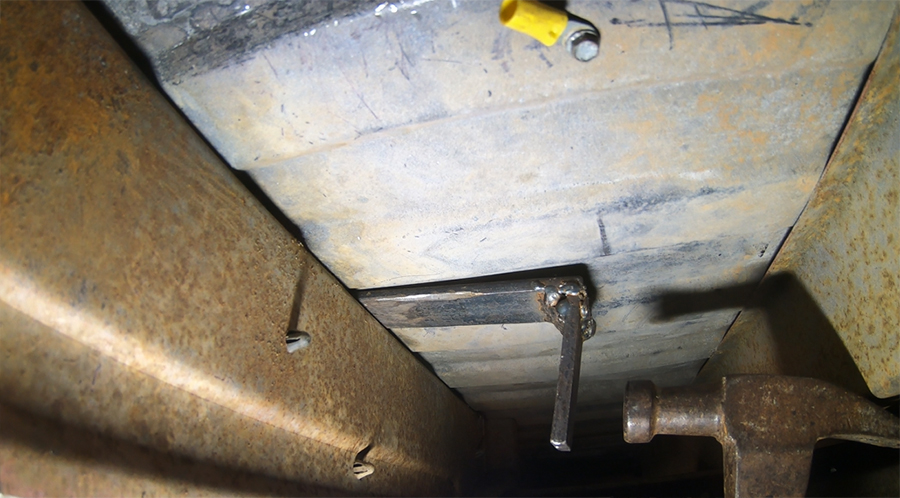
It was quite clear I was not going to be able to just hammer up bigger dents, or the portions of the collapsed floor. I need something more precise. I came up with the idea of taking a cheap auto spare scissor jack, adapting a 2×4 wood beam to it to it with a bracket, then creating ¼ inch thick steel flat bars that were exactly the same width as the ridges in the bed of the truck, and varied in length to fit between the bed frames underneath (5, 7 and 10 inch lengths). These bars I’d set on the end of the 2×4, then raise the jack to fit the bar precisely under one of the collapsed ridges underneath. I could then slowly crank the jack up, checking up top after a few turns to see how much the floor lifted in that particular spot, and tap it flat with a hammer. Though it was extremely tough to work around the truck frame and axles, I was able to use the scissor jack effectively, pressing up collapsed areas and dents back to original shape.
Truck Bed Ridge Wedge
One of the most difficult areas to address denting, was anywhere the the raised ridges that run the length of the truck bed were dented right over one of the bed frames underneath. There weren’t really any problems on the valley portions between the ridges, as they run flush flat with the flanged frame brackets underneath. However the ridges have a ¼” gap, so they can crush down.
The ¼” thick flat bar I had also happened to be the same width as the ridges, so I welded 2 pieces together….a longer piece and a shorter piece at roughly a 90 degree angle. The longer piece, I ground down the end to shape it like a wedge. The tab I welded on was somewhere I could tap on it with a hammer, in then back out of the collapsed space. With patience, it worked very well.
Air Grinder w/ Paint Stripping Wheel
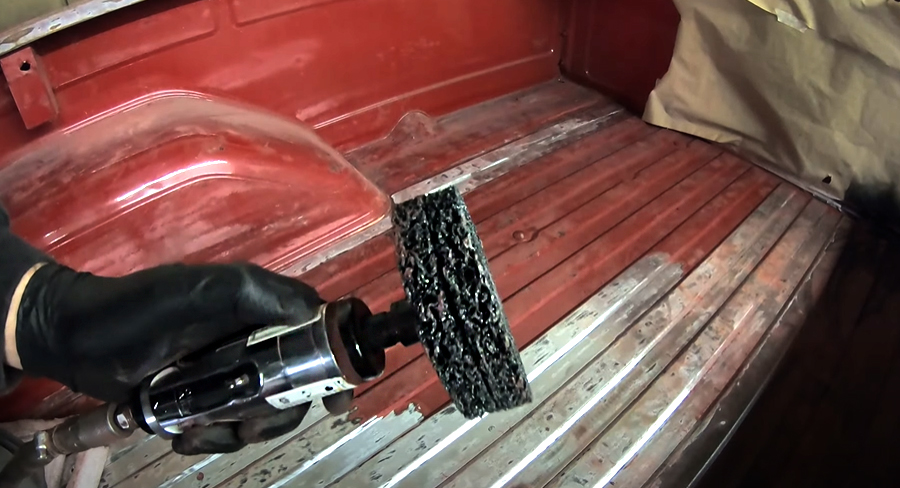
The truck bed was coated with it’s original primer and paint, and then a 2nd coat of paint with filler primer on the bed floor that was done very quickly and poorly. This had to come off, and for proper restoration I had to take things to bare metal. This is no simple feat. Back in the day, you could just go over to the hardware store, pick up some gnarly paint stripper gel that would dimple it all up where it just scrapes right off. This was some nasty stuff though, so regulations have toned it down today, where the current stuff doesn’t work. Sanding would take a long time and make a huge mess. I found these paint stripping wheels, and on an air grinder with the rpms kept down, they do a great job ripping off both paint, and rust. It still took me a number of hours to strip down the truck bed, but it was worth the effort.
Truck Bed Coating and Refinishing
While stripping all the paint down, I was careful not to disturb the existing seam sealer as it was mostly in great shape. The only place I had to redo it was where the truck bed meets with the head board, using SEM automotive seam sealer.
It was a bummer having to cover up the beautiful, bare steel, but obviously necessary. I first coated the metal with Rustoleum Rust Reformer, followed by Rustoleum Automotive Primer or Rustoleum Filler Primer where the bed steel remained a bit uneven. Then it was onto spraying the Rustoleum Truck Bed Coating. A key to spraying this bed coating I found, was that you don’t spray it to a gloss like regular paint, as it will run and look uneven. Seems there are micro grit particles in the coating, so it works better to just fog the areas you are coating, multiple times. This will prevent glossing, runs in your coating and make the coating look smooth and even because the rough surface diffuses light.