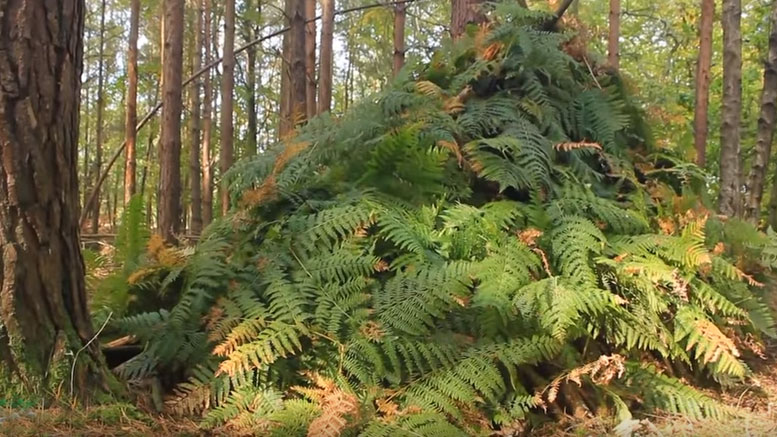
In the video below, you’ll learn how to make a bushcraft shelter out of natural woodland materials. First and foremost, build your shelter in an area with a lot of fallen branches. Basically build it where the materials are in abundance in order to expend the least amount of energy.
Scout out two trees that you want to build an A-frame shelter in between. Find a larger log to use as the support for the bushcraft shelter. The log should be four or five feet longer than distance between the two trees. If possible use logs that are not touching the ground. Mold and fungus can make the log weaker. If you saw the logs end at an angle, it will fit nicely between the two tree. Don’t cut off any of the notches. You can use them as support for the leaning logs. Next, gather logs for the walls. Use nature to cut longer logs buy placing the log in between two trees that are closer together and pull. It sure beats sawing. Cut the first two logs the same length and lean them at a slight angle against the tree. This evens out the pressure on the ridge log making a more stable support. Continue building out the shelter using a criss cross pattern. Once you are finished, push against the walls at different angles to double check the stability.
Now it’s time to work on waterproofing the walls. Bracken and fern work well, but use whatever you can find. You want to cut the bracken at the roots. This allows you to use the majority of the plant to secure it to the sides. Starting from the top, thread the bracken or ferns in between the logs of the walls. Once you’re done, you can trim off any excess from the inside. On the inside, sweep some ground cover against the walls to keep the draft out. You can also cut more bracken to keep your body off the ground.
You can also learn how to make a Bushcraft Shelter Using a Tarp.
Check back for more tips on how to build a bushcraft shelter!


